Share
Pin
Tweet
Send
Share
Send
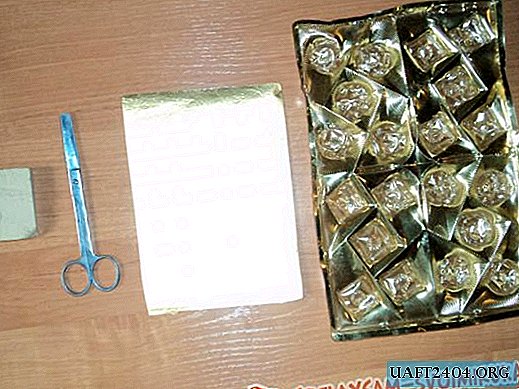
What will be required to create this new wardrobe item?
1. T-shirt. It is best to take a cotton product, since it is on such a fabric that the pattern turns out to be more clear and bright and it lasts longer than on other matter.
2. Permanent marker. It is easy to draw with such markers on fabric (however, as well as on any other surface). They are not washed off with water and dry very quickly. Moreover, one marker can be used for a very long time. One minus is the strong smell. Therefore, when using a marker, it is necessary to ventilate the room.
Permanent marker can be purchased at any office or hardware store. The choice of colors there is great, but the price is low (within 130 rubles).
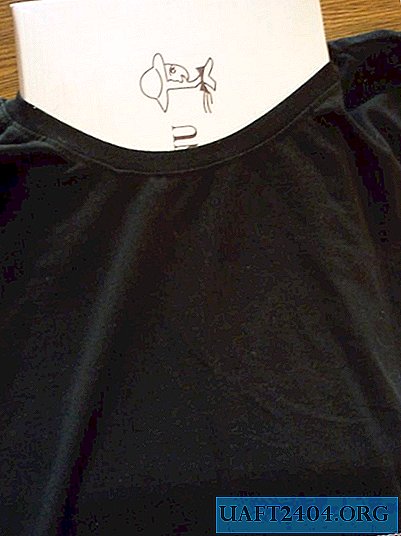
To draw on a T-shirt, you need to choose a contrasting color for it. In this case, we have a gold marker for a black T-shirt.

3. Pattern drawing. Using it, paint will be applied to the T-shirt. There are a large number of templates on the Internet, so everyone can choose a picture to their taste. In this version, we have a palm pattern with a heart.
4. Scissors and stationery knife. These tools are needed for cutting parts.
5. Cardboard. A small sheet of cardboard or an unnecessary cardboard cover from the box is useful so that when you apply a drawing, it does not print on the other side of the shirt.
6. Adhesive tape. With it, we will fix the pattern to the fabric.

The process of creating a pattern on a t-shirt.
First we need a pattern template. With the help of scissors, we begin to cut out the white details.

When cutting small parts, it is better to use a clerical knife.

After we cut out all the details according to the template, you should get this picture:

Next you need to stick the cardboard in a t-shirt. To do this, you must first determine which place is best placed on the drawing, and only then put cardboard.
After the cardboard is in the right place, put the template on it and fix it with tape. It must be ensured that the fabric under the template does not puff, otherwise the pattern may be distorted. In addition, it will be very inconvenient to constantly adjust the fabric during the painting process. It is necessary to glue the adhesive tape as firmly as possible so that the template does not move out of place.

After all the actions done, we begin to fill in the blank spaces with the marker in the template. It is more convenient to start painting on the left side (the opposite side of the working hand) so as not to stain the hand and not grease the drawing.

Paint over the remaining image.

After that, you need to remove the adhesive tape and the template and paint over the copiously resulting picture.

Our unique and original t-shirt is ready!

Share
Pin
Tweet
Send
Share
Send