Share
Pin
Tweet
Send
Share
Send
Step one.
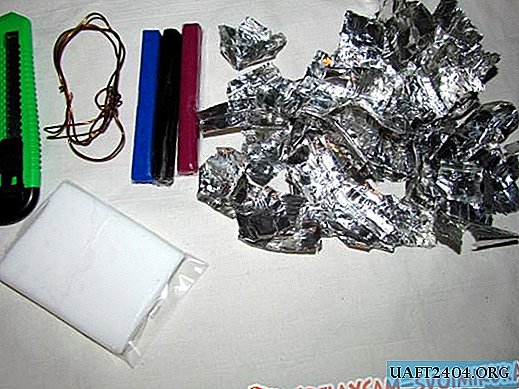
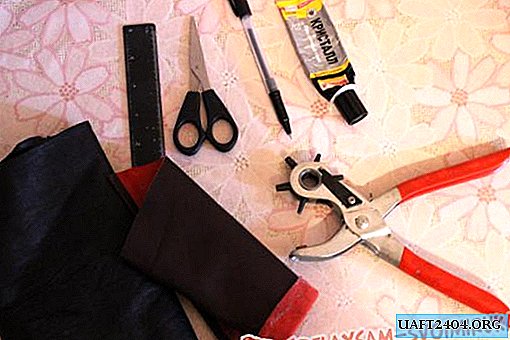
We prepare everything that we need for work, namely:
- leather (you can take a piece from an old jacket or other leather clothes)
- hole punch for skin
- glue
- any punch, a thin screwdriver or an awl will do (you need to push the braid into holes)
- ruler
- pen or chalk
Step Two
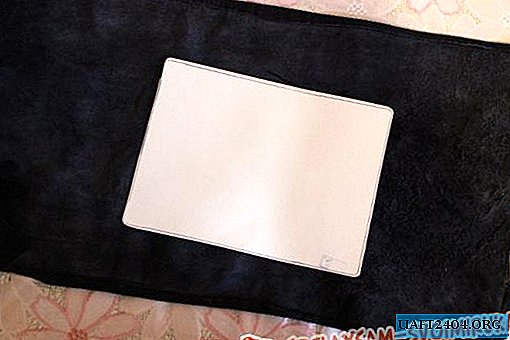
In order not to draw all the time, I cut out a cardboard for myself according to the size of my future passport. Width is 19 centimeters, height is 14 centimeters. She put it on a piece of skin, circled it and cut it out. The resulting rectangle.
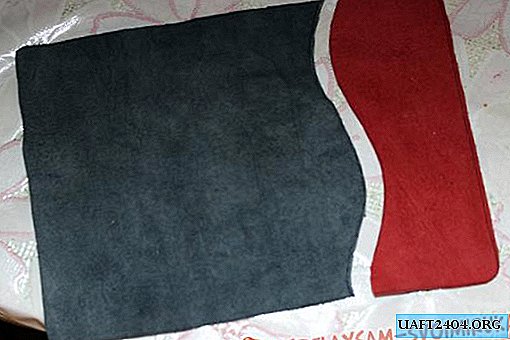
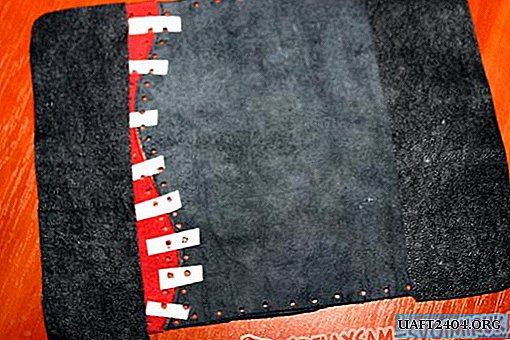
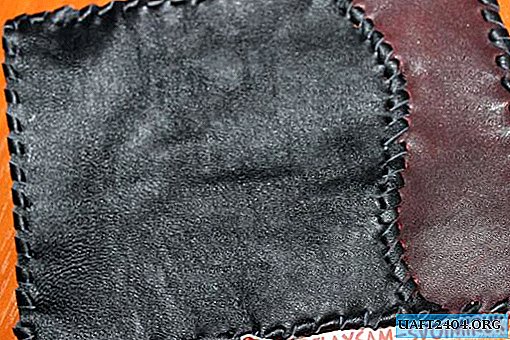
Step Three
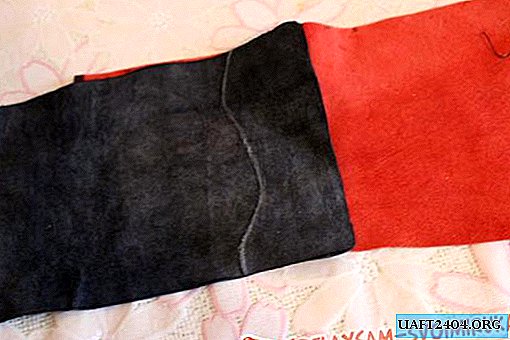
I wanted to make my cover of two types of leather, for this I cut it from the main piece and cut the exact same piece from the red skin. The edges did not begin to make smooth - they do not attract me.
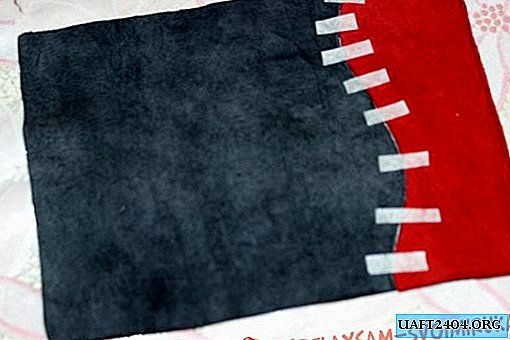
Step Four
It will be very difficult to glue two pieces of skin with glue, so for this I take a simple paper tape. This is necessary so that when we make holes in the skin, it does not disintegrate in our hands.
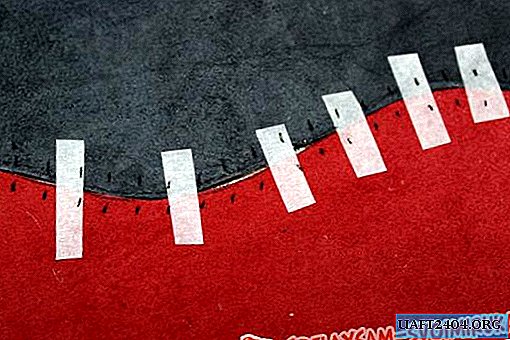

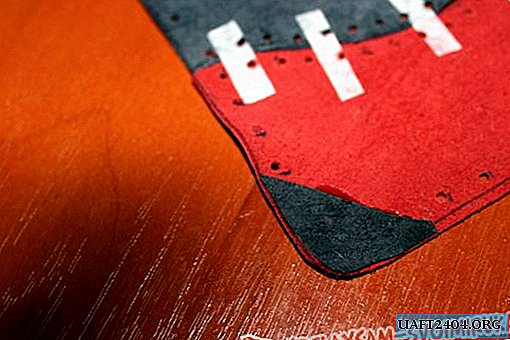
Step Five
We mark in all contours of the cover of the place where we will put the holes. The ideal distance is 0.7 mm, provided that the width of the overlay is about 0.3 mm. Next, make a hole punch over the skin in the designated places with the smallest hole in the hole.

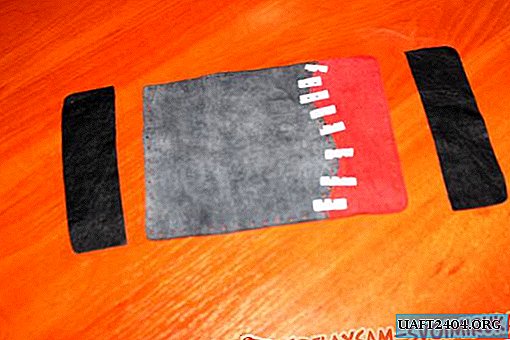
Step Six
We cut the sides into which the cover of the passport will fit. To do this, we need another piece of skin from which we can cut it all out. We attach the cover to the piece and draw a handle around its edges, then cut out 2 sides and trim all the irregularities. Next, glue everything on the glue, again, no matter what flies off during braiding. The only thing I want to note is when you start to braid the product, the corners of the cover are wrapped up, they need to be slightly condensed. To do this, glue a small piece of leather into the corner of the cover and only glue the sides on it.
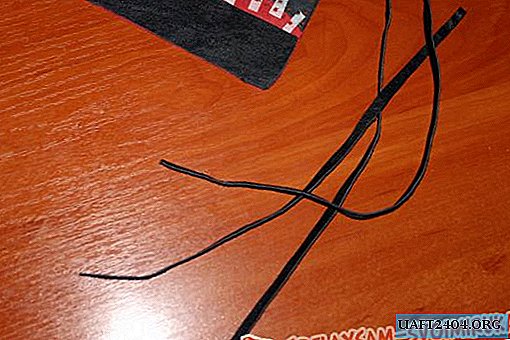
Seventh step.
We take a pen, ruler and a piece of long skin. We cut strips 3 mm wide from the edge, it does not matter how long, but the longer the strip, the less you will need to glue small ones in the process of braiding.
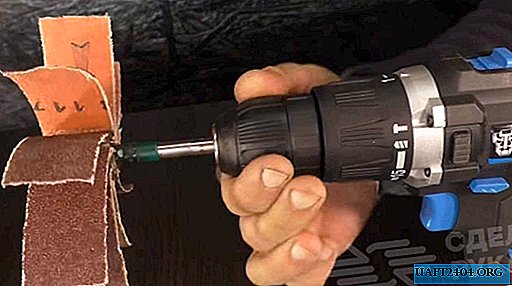
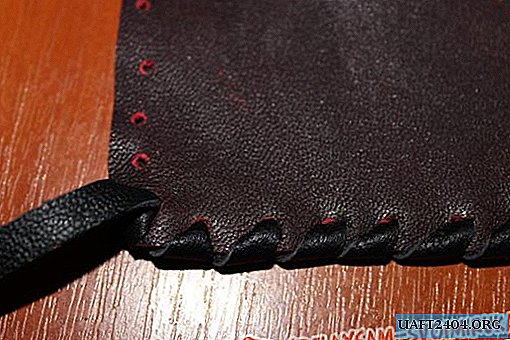
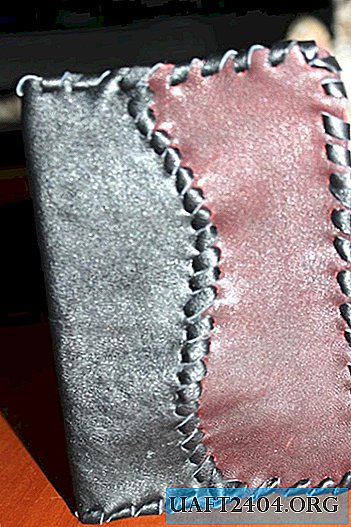
Step Eight (final).
With the help of a pusher, we start with cut out ribbons of leather, make a braid. We do not miss holes, we do not tighten the tape much, but we do not leave free space. All our cover is ready. It can be left as it is, it can be applied with special paints, glued on interesting accessories, a flower made of leather.
Share
Pin
Tweet
Send
Share
Send