Share
Pin
Tweet
Send
Share
Send
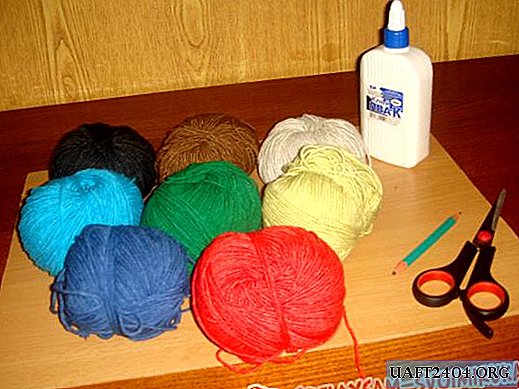
To create it, you need to prepare the following items:
- a chipboard sheet measuring 30x40 cm (you can purchase a finished frame with a solid base);
- threads for knitting a variety of colors (it is better to take all the same thickness);
- PVA glue or any waterproof polymer glue;
- scissors;
- wooden skewer;
- a pencil;
- images of owls.
Step 1. First you need to draw a large tree with branches with a pencil. Pick up images of owls on the Internet (it’s better to take more cartoonish coloring pages), print them on a sheet so that each height does not exceed 8 cm. After that, cut out the pictures and paste them on the background sheet of the work. You can also transfer the image (draw with a pencil), but why, if nothing is visible under the threads. Step 2. Now take the black thread, glue and wooden skewer. Apply glue to the places where you painted the image with a pencil and glue the thread. Now you are creating the outlines of the drawings. With a stick, adjust the thread so that it lies evenly and tightly to the base. On the owls you also need to glue the black thread in those places where there are main (bold) lines.

Step 3. Once the contours of the drawing have dried, you can start drawing. You need to fill in the middle of the images. To do this, lubricate part of the work (tree trunk) with glue and start sticking strings. It is important to apply each one very tightly to the previous one, trying not to leave empty spaces. It is better not to wrap the threads at the base, but to trim. Also start drawing on owl images. It is better to make the birds bright and colorful to make the picture more interesting. At the same stage, it will be logical to make a cobweb, a month and stars.

Step 4. Now you should do the background. It is better to take a dark blue thread. This stage is the most painstaking and longest. It is necessary to fill all the free space of the base. Move gradually, it is better to smear with glue separate sections and alternately fill them with threads.

If you try very hard, you get such an interesting job. For her, you can come up with some kind of verbal characterization based on the well-known saying: "At night, all cats are gray, and the owls are bright!"

You just have to wait until all the threads dry well, insert the work into the frame, hang it in a prominent place and enjoy your work.
Share
Pin
Tweet
Send
Share
Send

