Share
Pin
Tweet
Send
Share
Send
-Pot.
- Stick (tree trunk).
-Plastic ball.
- Newspaper (paper).
-Gypsum (cement).
-Napkins.
-Decorative grass.
-PVA glue.
-Lac.
-Brush.
-Scissors.
-Corrugated paper.
First, take the pot, fill it with gypsum and insert the trunk in the middle of the pot. After the gypsum hardens, paint the trunk of the future tree with varnish.
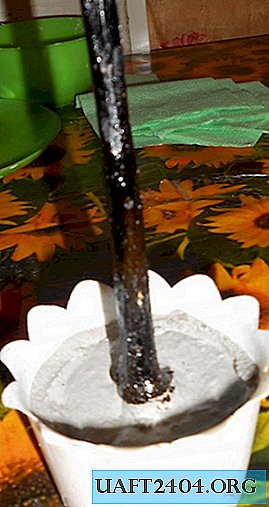
Leave the pot aside and take care of the ball. In the center of the ball we make a hole for the barrel. It can be done with a knife, or can be done like me with fire.

Next, take a newspaper, tear it into pieces and glue the ball on all sides, only you don’t need to glue the hole.

Put the ball aside and take up the foliage of the tree. To do this, take napkins and cut them into equal squares. To do this, simply fold the napkin in half, then cut it in half again and cut it in half.

Now we will collect our tree, you just need to put the ball on the trunk.

Let's go back to our little squares, you can turn them in this way and stick them at the tip of our ball.


And you can do it easier. We take a small square and just raise its corners up, and glue it in the middle to the ball.

So glue the whole ball.

After that, let's take a pot, or rather, we will hide gypsum using decorative grass.

In principle, the tree is ready, but it is better to add a little decor to it. Take corrugated paper and make apples out of it. We need to straighten the paper and cut out the squares, after, the square needs to be rolled up into a ball, these will be our apples.

Glue the apples in a chaotic manner on the tree.

So our decorative tree is ready.

In the same way, you can make another tree.

Share
Pin
Tweet
Send
Share
Send

