Share
Pin
Tweet
Send
Share
Send
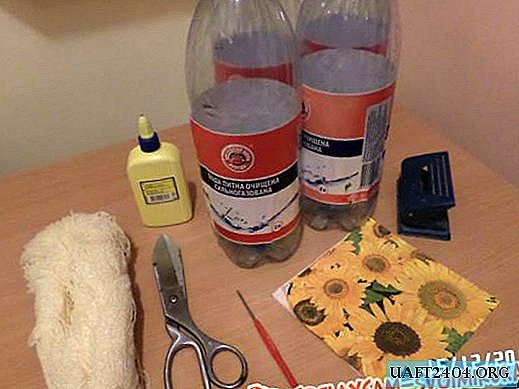
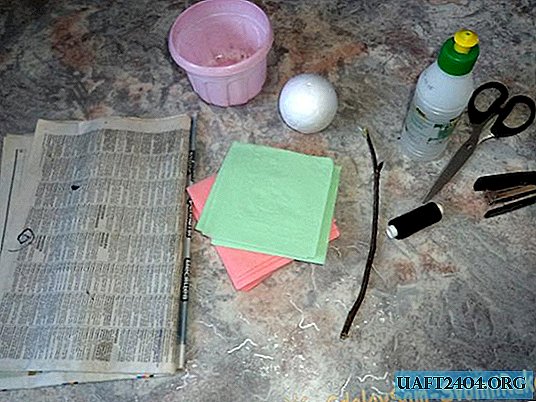
- Foam ball, if not, then use threads and newspapers;
- Napkins or corrugated paper;
- Scissors;
- Glue;
- Stapler;
- Flower pot;
- Branch.
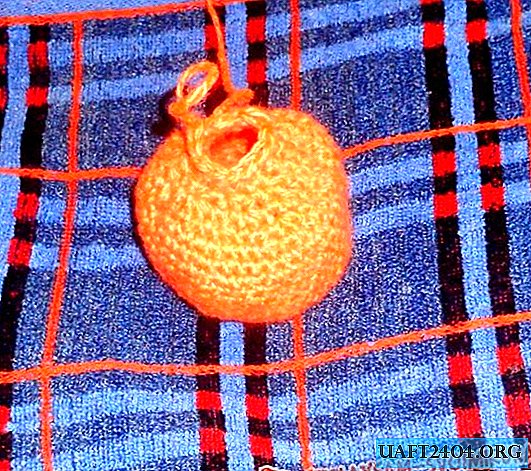
Foundation creation
How to make topiary? You need to start from the ball. It can be purchased at a craft store for about fifty rubles, depending on size. Creating your own foundation is easy. Only unnecessary newspapers and threads are needed.
1. Crumple the newspapers until you get a ball of the right size.
2. Wrap it with threads.
3. If the base has significantly crumpled and become much smaller than the desired shape, add new layers to it and fasten it again with threads.
4. It is necessary to achieve the most uniform surface of the ball, this will help in further work.
5. Make a hole for the branch at the base. This can be done with scissors. Choose a place and cut there. Let the branch pass tight, so it will be better to hold the ball.

Jewelry making
The stage of creating decorations for the ball is the most interesting. In this case, it will be flowers and grass. Creating them is very simple, but changing the color, location and shape of the general view of the topiary can vary significantly. Use napkins for work, they are in every house, and if they remain after work, they will find application in everyday life. Corrugated paper has a huge selection of colors, but its cost is much higher. For the simplest tree, you will need napkins, scissors and a stapler.
1. From one napkin, cut small squares;
2. Fasten two of them with a stapler;
3. Cut a circle;
4. Crumple the layers. Do not touch the latter, it will help the flower to hold on to the base of the tree.

For a change, you can cut the edges of the circle. So, the flower will be more fluffy. You can change shape with special scissors.

For large topiary, it is better to use several colors of napkins.
Making greens even easier.
1. Cut the same squares as for the flowers;
2. Two of them are coupled by a stapler;
3. We begin to crumple, leaving the last layers intact.

Ball decoration
Half the work done. Now you need glue and blanks. Any glue can be used: PVA or moment, with the last tree will be more durable.
Glue flowers and greens in turn, creating a composition.

At this stage, you can finish the job by gluing the ball to the pot. But you can go further.

Final part
There are several options for fastening a tree in the so-called land:
You can pour CPC into the pot, dilute the powder with water and stir. Insert a branch with a ball there. When everything hardens, proceed to decorate the gray mass;
You can use newspapers:
1. At the bottom, lay a heavy stone to create the stability of the tree;
2. Insert the branch and, holding it, cover it with newspapers;
3. So you can’t leave it, so cover the "ground" with green napkins;
4. And for greater relief and realism, paste grass;
5. Pay special attention to the edges, the newspaper should not stick out.
Instead of napkins, you can use stones, sand, cereal or other improvised material.

Finishing work decoration
How to decorate topiary? The pot can be decorated using decoupage technique, tied with a ribbon, glued beads or painted with paints. Small souvenir animals can settle in the grass. A ladybug can crawl along the branch. And butterflies, spangles or flowers from other materials will be added to the ball.
Topiary - decorations for any interior. The right combination of colors and shapes will create a unique atmosphere of coziness and comfort. This craft is done for a short time and does not require special knowledge. Even a child can handle it. Show your imagination and surprise guests with a designer topiary in your home!
Share
Pin
Tweet
Send
Share
Send