Share
Pin
Tweet
Send
Share
Send
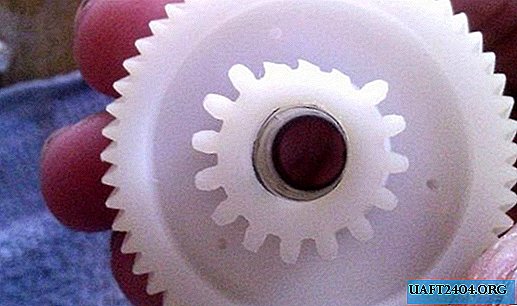
Today, there are a lot of mechanisms around us where plastic gears are used. Moreover, it can be like toy cars, as well as quite serious things, for example, an antenna lift in a car, a spinning gear, etc. The causes of gear failure can be different, of course, most of them are associated with improper operation, but now is not about that. If you are in such a situation and you have a couple of gear teeth broken, then there is a way out not to pay for an expensive part, but to restore it in a simple way.
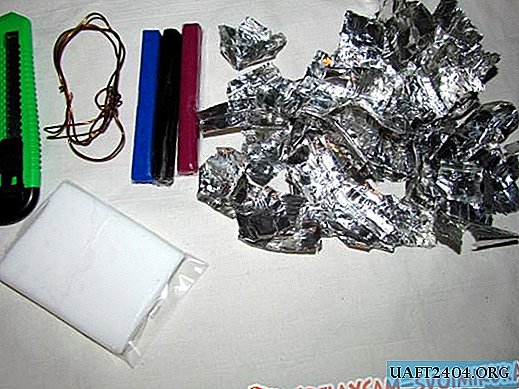
Need to recover
- Waste Toothbrush.
- Detergent.
- Two-component epoxy adhesive - cold welding for plastic.
Glue cold welding should be liquid, in tubes. Be sure to look at the packaging so that it is suitable for bonding plastic and plastic parts. Such two-component glue can be bought both in the auto parts store and in the hardware store. If you have any difficulties and you cannot find one, at the end of the article I will tell you how to make a similar analogue.
Restore Plastic Gear
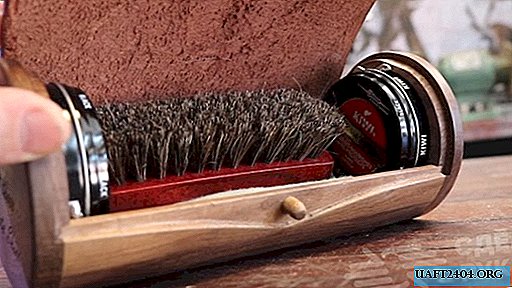
Training
The first step is to prepare the surface of the gear. We wash it repeatedly in warm water with a detergent, actively working with a toothbrush. Our task is to degrease and remove grease from all faces.
After degreasing is done, dry it dry.
Cooking glue
Now prepare the glue. Mix the components in a small piece of cardboard in proportion as in the instructions. Mix well.
In general, before opening the glue, I recommend that you carefully familiarize yourself with its instructions, especially with the time of complete and partial hardening, since this information can differ radically from different manufacturers.
If the consistency is liquid, let it stand for a while until it begins to harden.
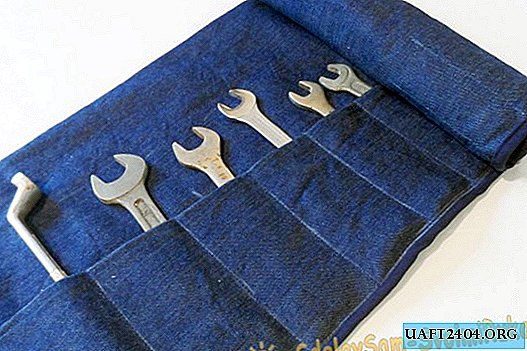
Tooth restoration
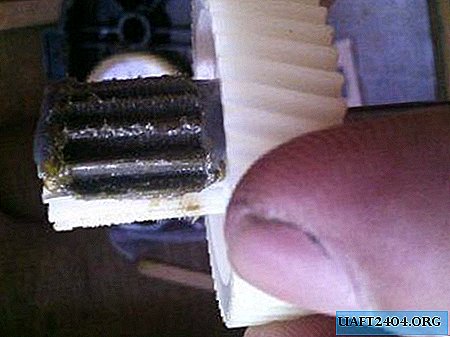
In my case, a few teeth have been stitched, the situation is fixable. We smear glue on that place which needs to be restored. The glue should be very thick, but plastic.

We make such a peculiar tubercle.


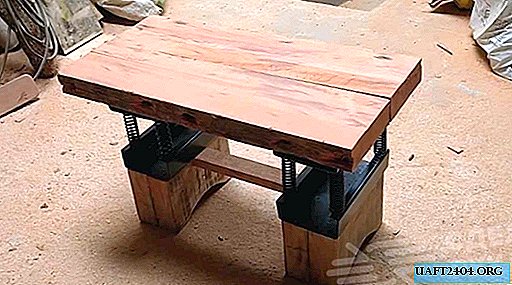
We put the gear on an improvised stand so that the glue thickens even more. Everything is again individual, it took me personally about 20 minutes to make the consistency noticeably thicker.

You can speed up the reaction and reduce the thickening time by heating. For example, take a hair dryer and start heating the glue on the gear.

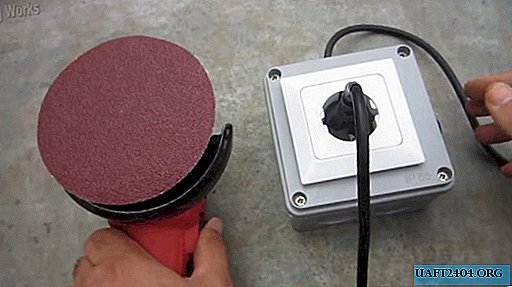
Tooth restoration
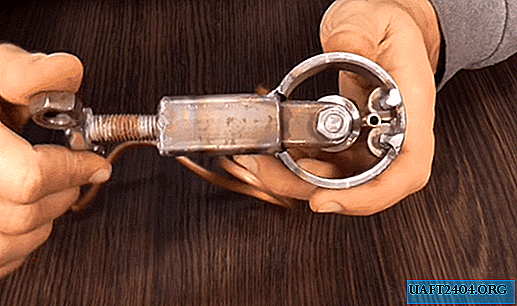
Now the most crucial moment is the rolling of the teeth. The node where the gear was operated, namely, another gear with which our broken one was directly in contact, should be generously greased with grease, grease or lithol.
Install the broken gear and roll several times over another.


As a result, another gear rolls the mark on thick glue.

Now you understand that before rolling the teeth, the epoxy adhesive on the gear should harden to the consistency of hard plasticine.
Thanks to lubrication, the glue does not stick to the other gear.
Hardening
Carefully remove the restored one from the mechanism and leave it for final solidification, usually for a day.

In such a simple way, you can quite simply repair broken gears.
How to replace epoxy glue?
If you did not find the glue, I can recommend you to make a slightly similar composition.
For this you need:
- Epoxy resin with hardener.
- The cement is dry.
We buy the usual transparent or yellowish epoxy resin with a hardener. These two components are often sold together.
In the proportion specified in the instructions, mix the components to get the right amount of glue. Add cement. Just not a cement-sand mixture, namely pure cement. The proportions are approximately two to one. That is, two parts of glue and one cement. And we mix everything very carefully. The glue is ready, and then everything is as described above.
Share
Pin
Tweet
Send
Share
Send