Share
Pin
Tweet
Send
Share
Send
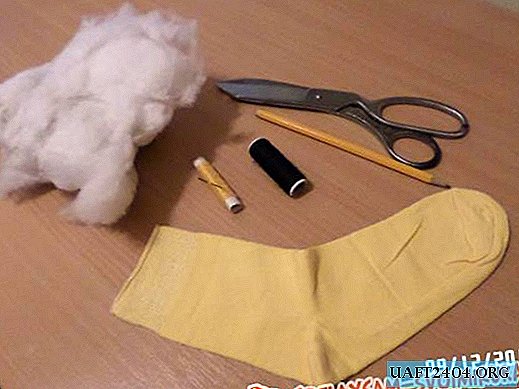
What is required:
1. Cardboard, Whatman A4 paper or a sheet from a drawing set.
2. A simple pencil.
3. Colored pencils or felt-tip pens.
4. The line.
5. Large and small scissors (you can also take a clerical knife).
6. Glue.

Technique of execution.
A sheet of thick white paper is taken, for example, from a drawing set. Its standard size is A4. It needs to be bent in half.

Now, from the fold side, half the window is drawn, and on top is a cat comfortably sitting on it.

The sheet unfolds and in the second half only half of the window is drawn.

In pop-up postcards, this would be enough, but for the page from the children's book some outlines are not enough. So the next step is to paint a picture for anyone.
Then the sheet is folded outward.

The window together with the cat needs to be carefully cut so that a volumetric rectangle is obtained. Now the cut part is unbent.

A fold is formed. All lines should be bent efficiently so that the picture easily folds and jumps out of the page.

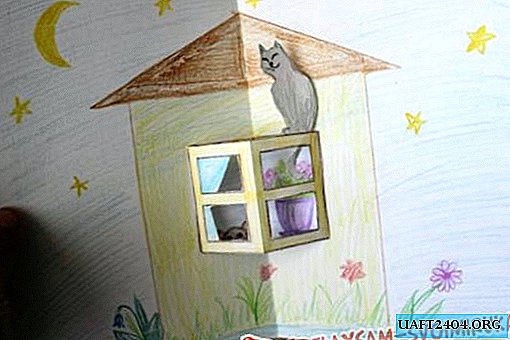
Here's what happened.


The next step is to carefully cut out the inside of the window.

Everything, with the page itself nothing more needs to be done. But if there simply remains a hole outside the window, it will not be very interesting. Therefore, a simple blank sheet is taken (not cardboard, but, for example, "Svetocopy"), a piece is cut off that is sufficient to more than close the window and the outline of the cat.

It needs to be bent in half.

Having measured where the lines of the window will be, on the sheet you need to depict the interior decoration of the room. Or, for example, a pot of flowers and a dog peeping at the cat.

Now, with the help of glue stick, a leaf with a pattern inside is glued to the main picture.

It is necessary to glue carefully so that in no case will the coating of the window and the cat itself, otherwise they will not “pull out” when opening the page.

Here is the result. The page from the book is ready.


When enough pages have been made, they can be put together in a real book for the child, make a cover. To make the sheets denser, they should not only be glued together, but a half of another sheet should be laid between them. The edges of the pages can be optionally pasted with a thin strip of adhesive tape.
Here are more examples of pages made using the same technique.


Share
Pin
Tweet
Send
Share
Send