Share
Pin
Tweet
Send
Share
Send
Regular cups or boxes adorn the windowsill a little, if not to say that they absolutely spoil its appearance. Last year, my household successfully planted onions in pots where flowers grew. The plants turned out to be quite friendly neighbors. The flowers did not react at all to the appearance of the onion, and the uninvited guest, in turn, pleased the hostess with lush greenery.
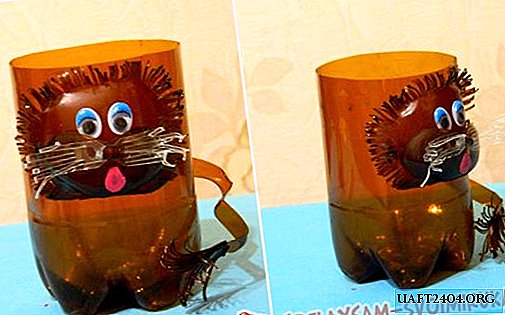
This year, in order not to hamper indoor flowers, I decided to make several flower pots from plastic bottles. Here is the result of one of the works.
For crafts used:
- brown and white plastic bottle
- ready-made eyes for toys
- scissors
- pliers
- the fire
- pink nail polish
- glue for plastic, glass or wooden parts.

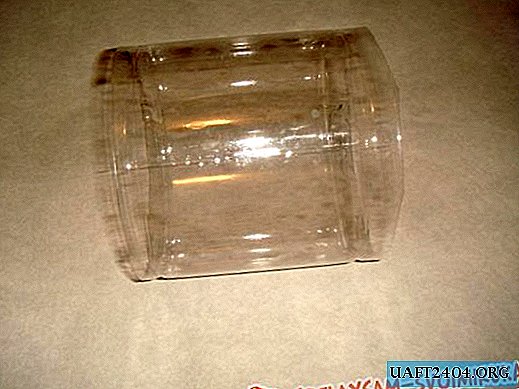
First, cut the brown bottle in half to get a glass of the required height. Further from the upper part with the neck, we cut out the head of a lion cub in the form of an irregular oval. Initially, the shape of the bottle helps to make our head convex.
Cut the edges of the oval into thin strips up to 1 cm long. So we imitate the hair of an animal. We bring the ends of the strips to the flame of a gas burner, match or candle for a few seconds. Plastic melts and acquires light bends. The basis for the head of the crafts is ready.


We again return to the top of the bottle with a neck and cut out the muzzle of a lion cub in the form of a figure eight. This part is also convex. Traditionally we will melt the edges of the muzzle above the burner flame.

From white plastic we cut out the rings, from them we make two stripes. Then with scissors we cut thickly the stripes along the length, leaving approximately 0.5 cm intact from the opposite edge. We melt the details over the fire, we get a fluffy mustache.


Then we cut out a drop from the remains of white plastic and paint it pink. This is the language of the animal.

It remains to draw a tail cub. To do this, we bend half or even 2/3 of the brown ring cut off from the plastic bottle in several places, and we burn the vertices of the bends with fire. Due to the deformation of the plastic, we get the curve line we need.

To make the tail brush, one side of the rectangular plastic should be cut into thin strips, then fold the rectangle into a tube and burn both ends of the “brush” over the fire. The bands will curl up and become curly. Further to the rounded base of the brush we attach the tail itself.


At the last stage, we collect the parts together. First, we glue the lion’s head, then the muzzle, and attach the mustache, nose and mouth to the muzzle. We glue the eyes over the cheeks, and the tail from the back.


Do-it-yourself flower pot "Lion cub" is ready to decorate the windowsill on the loggia.


If it makes sense to make a hole in the bottom of the glass (so that excess water flows into the tray), then on the legs of the animal you can put on a bottle of the same shape, only green. The result will be an article "Lion cub on the lawn."
Share
Pin
Tweet
Send
Share
Send

