Share
Pin
Tweet
Send
Share
Send
To work on the book we take:
- Three sheets of A4 binding cardboard;
- Five sheets of scrapbook paper in lilac color, the size we take 30 to 30 cm;
- Synthetic winterizer;
- Natural cotton fabric, we take monophonic lilac and flower lilac;
- Cotton lilac lace 3.5 cm wide;
- Satin lilac ribbon 25 mm;
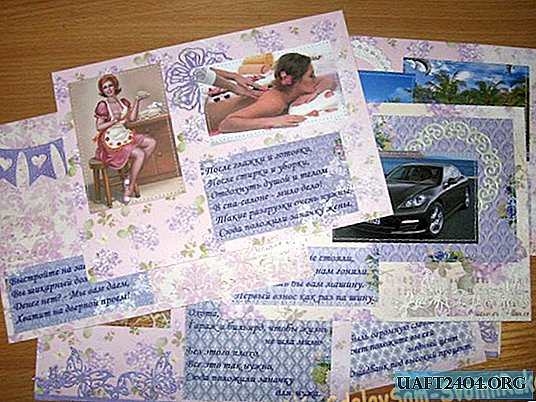
- Pictures on the wedding theme, with female and male motifs, children's pictures, nature, machine, house, banknotes, etc;
- Printed wishes for each picture in the form of small poems;
- Lilac acrylic paint;
- Half beads are lilac;
- Ink pad for tinting;
- Narrow purple and lilac satin ribbons for bows;
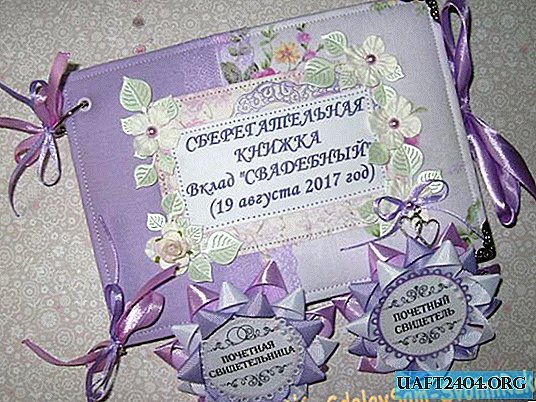
- The inscription printed "Savings book", its name and date of the wedding;
- Metal pendant dad hearts;
- Felling from mother-of-pearl cardboard of mint, lilac and white colors: leaves, flowers, glasses, hearts, butterflies, napkins;
- Paper flowers of hydrangea of white and lettuce flowers;
- Metal rings and 4 metal corners;
- Eyelets are lilac and installer;
- Tools: double-sided tape, scissors, metal ruler, simple pencil, glue stick, thermal gun, Focus glue.


Since the book will be in the form of a mini-album with hard sheets and a binding, we take a binding cardboard and divide all three sheets in half, 15 * 21 cm and cut it.


We get six pieces. We take two of them on the cover and glue it on one side with a synthetic winterizer.


Now we need to prepare the fabric on the cover.

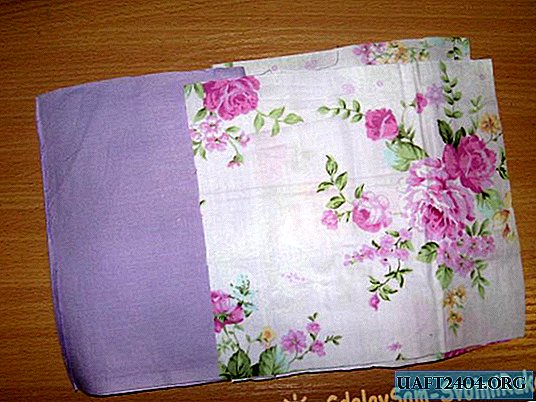
We combine two fabrics with each other and cut off with stocks. We also cut two strips of lace and two strips of tape at the joints.


In order not to lose time while we sew the cover, we dye the edges of the inner sheets with paint and leave them to dry for 15-20 minutes. From scrapbook paper, we need to cut two flyleaf rectangles for the cover 14.5 by 20.5 cm.


Also cut out pictures, wishes for sheets. We smooth the fabric, sew in pairs and sew lace at the joints.


Now we pull the fabric on the cover and glue it with a glue stick.


Inside the cover we glue the tape on both sides. Bookends prepared.


For the outside of the book, we also cut out a rectangle from scrapbook paper and an inscription, between them we glue a cut-out heart.


For inner sheets, cut rectangles from scrapbook paper 15 into 21 cm.


We tint a pad with all the pictures and inscriptions.


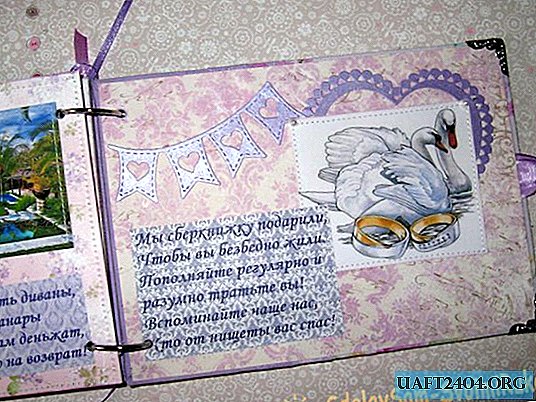
And now, in the sense and discretion, we decorate each inner sheet of scrapbook paper, including bookends.


Flashing the cover.


The same thing, we flash both each picture and the clipping on the sheets. On the cover inside we paste already decorated bookends and leave to dry.

Now we glue the sheets in pairs and in the desired sequence.


And then also on the edge of each flashing.


We make holes and put the grommets on the cover. Then we make holes on the sheets and collect our little book on the rings.


It only remains for us to tie bows on the rings, glue flowers, leaflets and half beads and you're done.

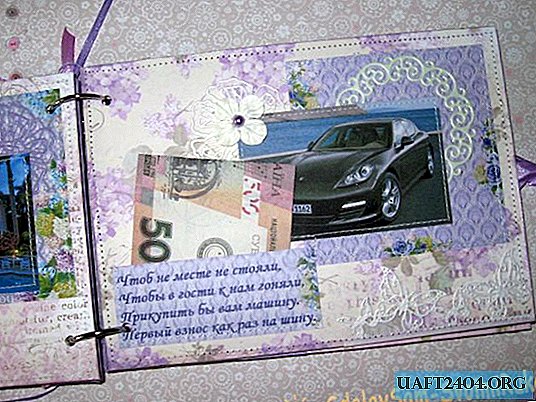
The savings book is ready, we invest money in pockets and congratulate the young. Grateful for your attention and see you soon.


Share
Pin
Tweet
Send
Share
Send