Share
Pin
Tweet
Send
Share
Send
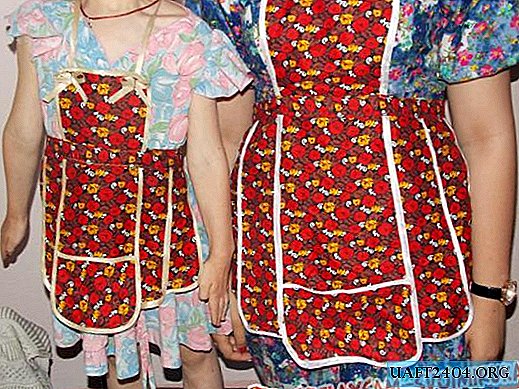
Sewing two identical aprons for mom and daughter is very simple with your own hands. This is interesting and fun, and the result will undoubtedly please the hostesses. An unusual, but very beautiful version of the apron, presented in the master class, can at first frighten the beginning seamstresses, but if you want and patience, it’s very easy to deal with sewing.

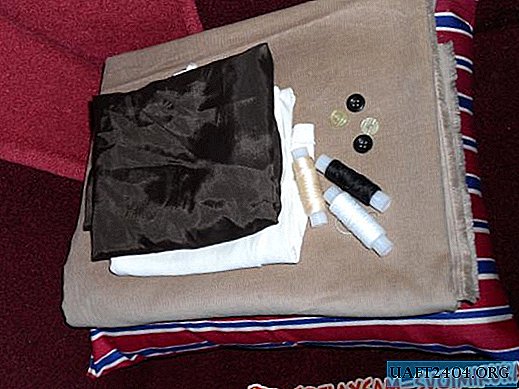
For the manufacture you will need the following materials:
• Fabric - half a meter is enough for sure. You can choose a dense, water-repellent, any at the discretion of the hostess. In the master class - dark satin with a fine pattern. Not easily soiled print, easy and pleasant to the touch for the child;
• Slanting inlay - 5 meters for an adult apron, 3-4 meters for a children's apron;
• scissors;
• Sewing machine;
• Threads in tone of fabric.


Additionally, an iron is used for ironing the inlay, paper for the pattern (you can immediately on the fabric), crayon or soap for applying the pattern to the fabric cut, ruler.
The "Camomile" apron consists of separate wedges connected among themselves by a fringing seam by means of a fringing inlay.
To build, you need the following measurements (large size / small size):
• Breast width - 20 cm. / 13cm.;
• Breast length - 20 cm. / 13cm.;
• Length from waist to apron - 40 cm. / 26cm.
In the photo there is a pattern diagram. Breast, 3 wedges with a width of 8 cm / 6 cm at the top, 11 cm / 8 cm at the bottom.

Apron assembly sequence:
1. To draw a pattern of an apron according to the set sizes;
2. Cut the pattern into details, lay it out on the fabric and cut without seam allowances. Cut on the fabric folded inward, so that the breast and the first wedge are at the fold.

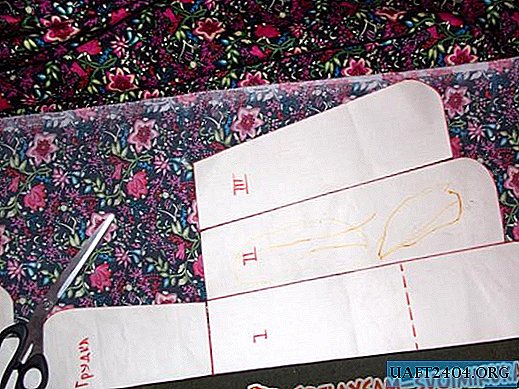
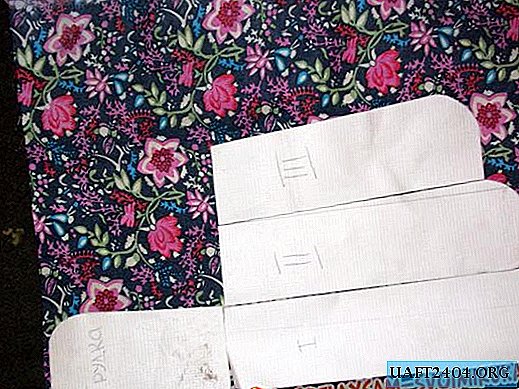

To keep the breast better, double cut it. If desired, the pocket for the first wedge also fits separately.


The slanting inlay should be ironed, folded in half along the entire length. This is the edging.


Sewing:
1. Prepare the breast, edging it along the outer slices (except for the waist line);

2. Trim the third wedge along the outer cut;

3. Connect the third and second wedges and turn around together;

4. If there is a pocket on the first (central) wedge, you need to surround the upper cut - the entrance to the pocket;
5. On the left and on the right to connect the central wedge with the second wedge edging;

6. Open the apron belt - width 5 cm., Length from 1 m. 20cm Belts 2 parts;

7. Sew a belt to the bottom of the apron. Unscrew the ends of the belt, iron the sections and sew with a finishing stitch throughout the belt, at the same time insert the apron breast at the top.

8. Sew the upper straps to the breast of the apron. It is possible from the double edging sewn in twice. Bows, applique, ribbons - optional.

It is not difficult to take a little time to familiarize the child with work, and the result of such attention will be surprisingly pleasant.


Share
Pin
Tweet
Send
Share
Send

